Look at this photograph
Every time I do it makes me laugh
- Chad Kroeger
This tutorial will teach you how to add photos or files to individual signs, and show you how those photos appear within SignAgent and in your reports.
1. Attaching Files/Photos to Signs
Attaching photos or files to a sign is pretty simple:
- Select the sign you'd like to attach to.
- Scroll all the way to the bottom of the sign (past the Save button, and below the audit trail)
- Drag and drop the file(s) into the comments section
- Alternatively, you can click the Attach button (it looks like a paperclip), and then Choose File. Then, click comment, and it will be saved to that sign.
Note that you can also add a comment alongside the file or photo if you'd like, just by typing something into the comment box before clicking "Comment"
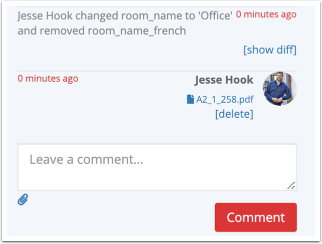
Most file types (including PDFs) will just show the file-name within the audit trail. From there, anyone who has access to the sign (including view-only users) will be able to download that file from there.
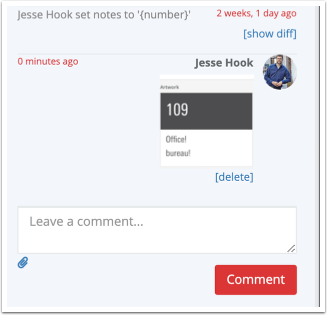
If you add an image file (like a JPG or PNG), you'll see a preview of that image within the audit trail instead. If you click on it, you'll see the image at full size, where you can save it if you'd like.
This photo will also show up in a few other places...
- When hovering over the sign (if there's no sign artwork)
- In the Photos area (just below the save button on the sign dialog)
- In the expanded list view, under Details
- In your PDF Message Schedule, if you've included photos in your custom report.
- Photos are also included in the default report "Message Schedule - Original"
- In the Photos Export option.
- In the mobile app, as a photo