We go together like peanut butter and jelly... or combined braille translations.
There are two methods for combining braille in SignAgent. The first is done completely within the template.
Method 1: In-Template
This method involves using reference fields directly within the template. Instead of creating the usual templated text that has a field name and bounding box we will create text that is its own layer.
PROS: This messaging will stay current. If we were to update the "Room" field, the braille would translate and this would be reflected in the template.
CONS: Additional commands cannot be applied to this braille. It cannot be part of a repeating sign or align to any other objects. It will only write left-to-right on a single line.
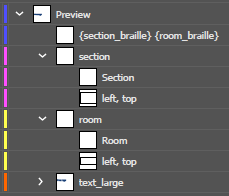
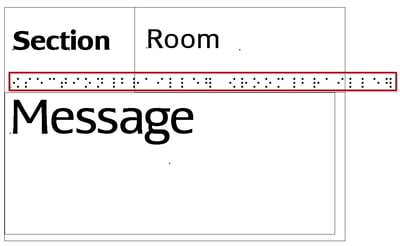
In this example we are combining the braille translation of two fields called "section" and "room". The braille translated fields in SignAgent will be called "Section Braille" and "Room Braille". We put the field names in curly brackets and write "{section_braille} {room_braille}" directly onto the sign using our chosen braille font.
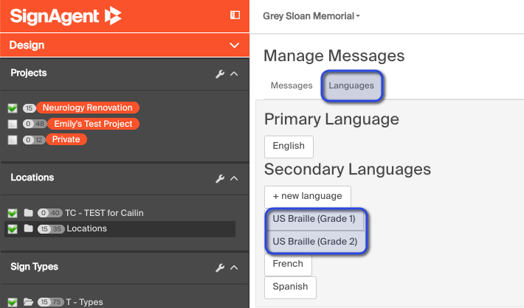
Note: If you already have a Braille Language set up, choose that one!
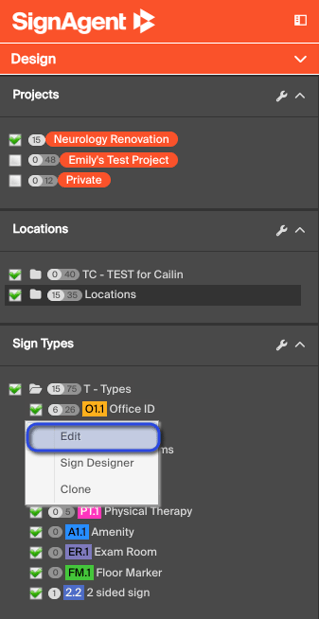
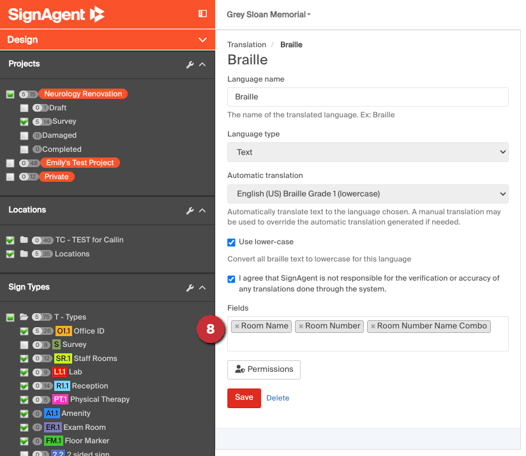
- Name the field
- Choose the Automatic Translation type (in this case we chose US Braille Grade 1)
- Check the box if you want the braille to be all lower-case
- Agree to terms for translated Braille
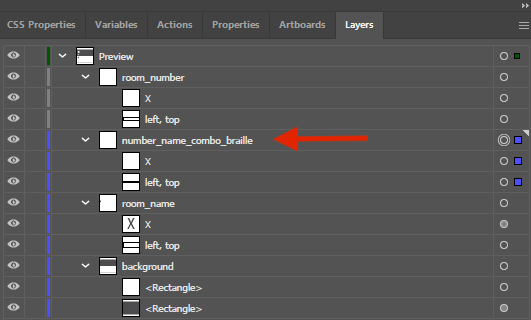
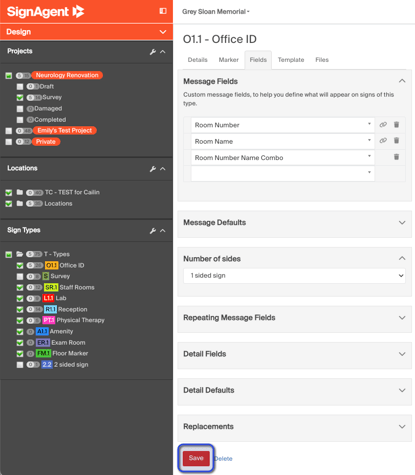
8. Add the combined field you just made to the "fields" section at the bottom, and ensure both original fields are there as well (in this case, that's "room name" and "room number"). If they are not, add them and save.
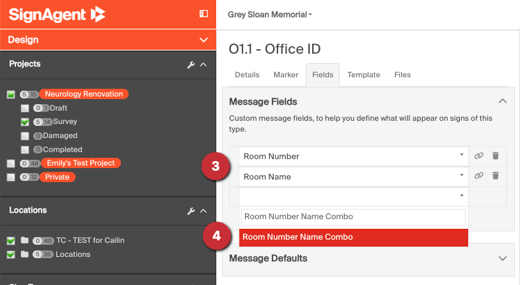
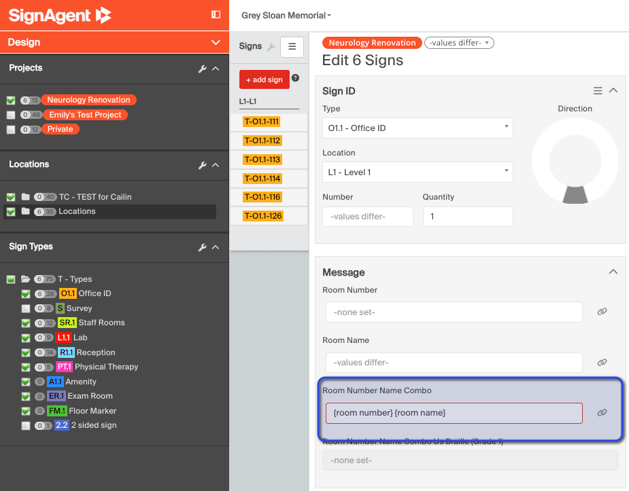
10. Add the 'Number Name Combo Braille' option to the message field list and save.

Note: Combined Braille fields are made to automatically combine the Braille from two fields into one line - if your combined Braille does not fit onto one line and is not breaking in the place you want it to, we recommend translating each piece of Braille separately instead (i.e. one field for "room number braille" and one field for "room name braille")