Custom Branding
This is a feature reserved for users of a Manage license
1. Enable Custom Branding
Reach out to support@signagent.com with the name of your organisation to have SignAgent staff turn on this capability
2. Upload Logo
Once you receive an email confirming that access has been granted, open the organisation's settings (2) from the Org Dropdown (1)

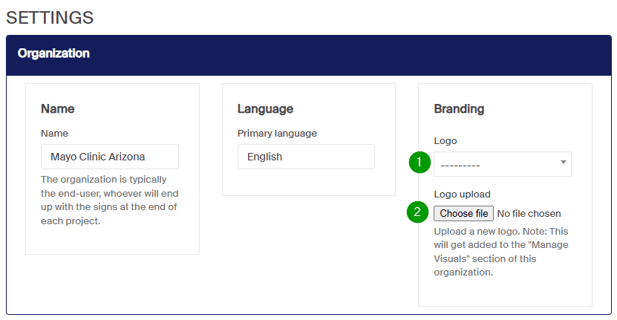
From the "Branding" section at the top of the page:
1. Select an existing visual that has already been uploaded to the system
2. Upload a new logo
