When your client is ready to review your work, the easiest way for them to do that is for you to invite them directly to the project so they can see the live data. You can see how to do that here: Setting Up a State for Client Review
If your client doesn't want to do that, or if you need a static export from a specific point in time, here's how to Export Reports of Location Plans, Sign Counts, Message Schedules, and Sign Artwork
Visibility Settings
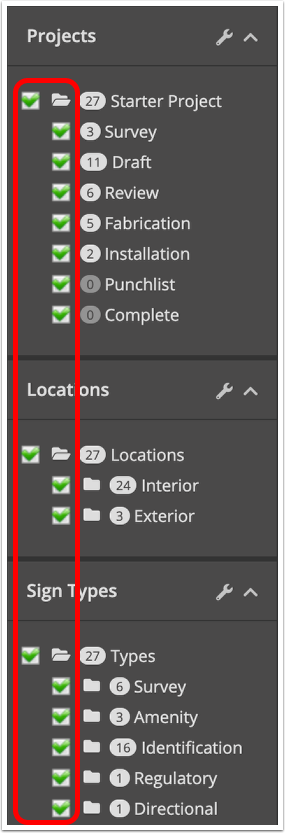
Before you go to export your report, you should make sure you adjust your visibility settings to reflect what you want included in your reports.
Note that any reports you run will only display information that is currently filtered on. So if you've deselected any projects, states, locations, or types, they will not be included in this export.
This filtering also includes any active Search parameters as well.
You can find more details on filtering here: Visibility Settings
Exporting Sign Reports
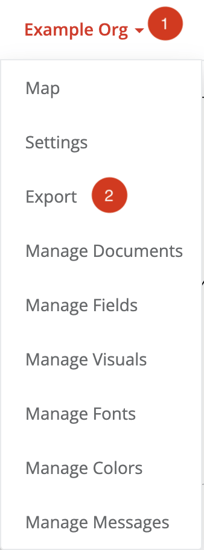
To Export reports, click on your organization name, and then choose Export.
This will take you to an Export page where you can choose what types of reports you want and change any necessary settings
Adjusting Report Settings
In this page, you can adjust some details about your reports.
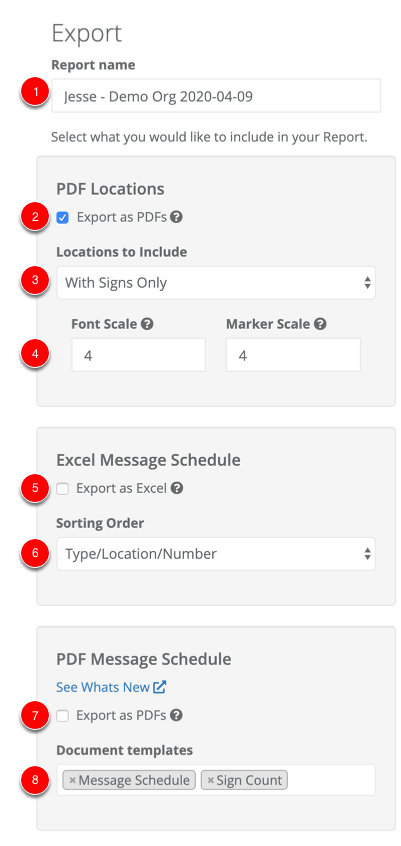
- Report Name - Here, you can choose a name for this report. This will affect how it shows up on the Reports page within SignAgent, and the name of the zipped file exported out of SignAgent
- PDF Locations - Export as PDFs - Here you can choose if you want location plans to be included in this report export. If the box is unchecked, no location plans will be exported.
- PDF Locations - Locations to Include - Here, you can choose between
- With Signs Only - This will export ONLY location plans that have at least 1 sign currently filtered on the plan.
- All Locations - This will export ALL location plans that are filtered on, even if they have no signs active.
- PDF Locations - Font and Marker Scale - You can scale the font and marker size on this page by entering numbers to scale by.
For example, entering "2" will double the size of the marker or font. Entering "0.25" will make the marker or font 25% of the size.
You can see good rules of thumb here: Choosing a Font/Marker Scale - Excel Message Schedule - Here you can choose if you want an excel summary report to be included in this report export. Note also that you can choose a sorting order.
This Excel sheet will include the following sheets:- Sign Overview - A summary of Sign Counts per location and a total
- Sign Estimate - A summary of sign counts, unit costs, and extended costs
- Message Schedule - A message schedule where each sign is on a separate row
- Grouped by Type - A message schedule where signs are grouped by type, making it a bit more legible
- Remaining sheets are message schedules specific to each sign type.
- Excel Message Schedule - Sorting Order - Here, you can choose between Type/Location/Number and Type/Number/Location
- PDF Message Schedule - Here you can choose if you want to export a PDF message schedule in this report export. Note that you must also include at least one document in the "Document Templates" field
- PDF Message Schedule - Document Templates - Here, you can choose which document templates you'd like to use for your PDF Message Schedule reports. Note that there are some default options, but Document Templates are also fully customizable. For more info on that, see here: Customizing Reports
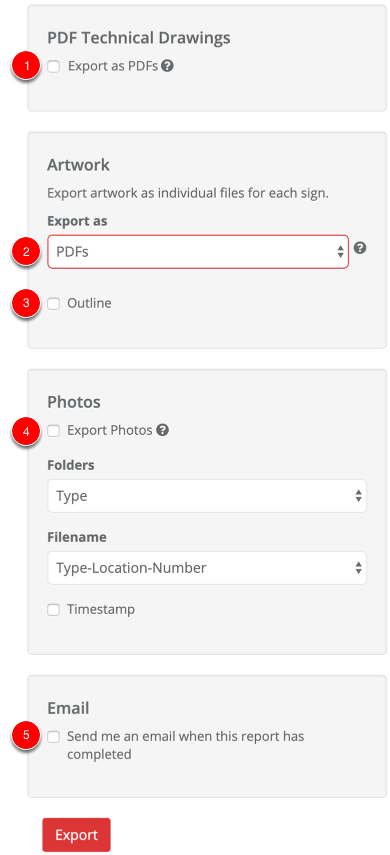
- PDF Technical Drawings - This will export any technical drawings that you've uploaded to the "Files" tab of your sign types (for any sign types that are filtered on)
- Artwork - Export As - Here, you can choose how you want your artwork files to be exported. You can choose between PDFs, SVGs, or "-----" (which means do not export)
- Artwork - Outline - Choose if you want text to be outlined or not in your exported artwork files
- Photos - Export Photos - Choose if you want to export photos. This includes any attached photos added to signs by either attaching them on the web, or using the SignAgent Mobile App
For more info on this, see Exporting Sign Photos - Email - Choose if you want to receive an email when this report is completed.
When you're done adjusting your settings, click Export. These settings will be saved for future exports as well.
Downloading your Completed Report
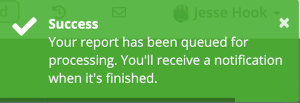
This will take some time to compile, depending on the size of the project, but you'll get a notification in-app once it's ready.
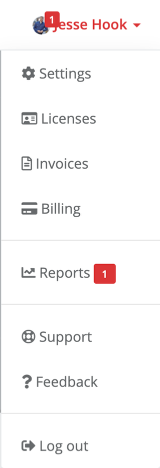
When you get the notification icon on your profile image in the top-right corner, click there and choose Reports in the drop-down list.

In here, simply click the file under "Result" to download it. This download link will expire after some time, so make sure you download it if you need a permanent copy.