
When your client is ready to review your work, the easiest way for them to do that is for you to invite them directly to the project so they can see the live data. You can see how to do that here: Setting Up a State for Client Review
If your client doesn't want to do that, or if you need a static export from a specific point in time, here's how to Export Reports of Location Plans, Sign Counts, Message Schedules, and Sign Artwork
1. Visibility Settings
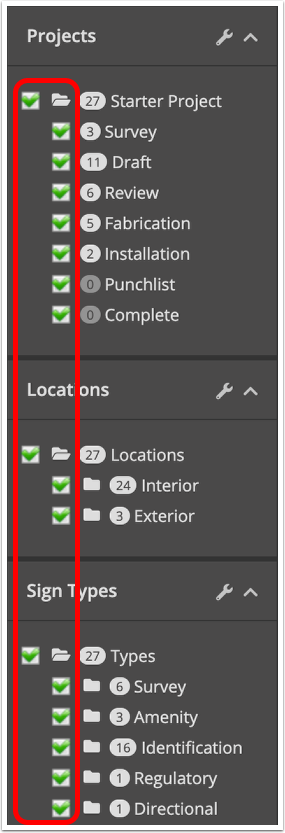
Before you go to export your report, you should make sure you adjust your visibility settings to reflect what you want included in your reports.
Note that any reports you run will only display information that is currently filtered on. So if you've deselected any projects, states, locations, or types, they will not be included in this export.
This filtering also includes any active Search parameters as well.
You can find more details on filtering here: Visibility Settings
2. Exporting Sign Reports
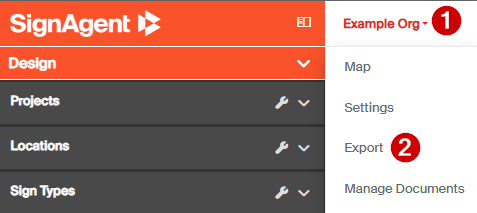
To Export reports, click on your organization drop down and choose Export.
This will take you to an Export page where you can choose what types of reports you want and change any necessary settings
3. Report Types
There are 6 categories of report that can be exported. Each category will have a checkbox under it which when selected will export that report type for all visible signs.
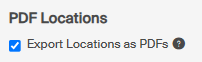
PDF Locations
These reports generate a PDF of uploaded location plans or exterior maps with sign markers overlayed on them.
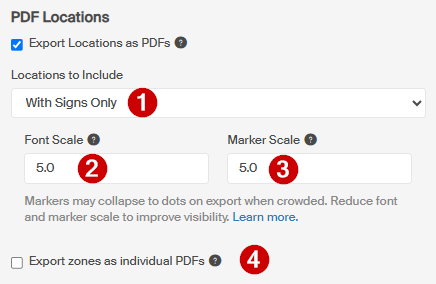
1. Included locations determine how many location plans are exported. "With Signs Only" will export only locations with signs highlighted in the visibility filters. "All Locations" will export all locations even if they do not have signs actively visible.
2. Font Scale determines the size of the sign ID's text in the export. Reduce this value if the exported plan has dots instead of markers and Sign IDs.
3. Marker Scale determines the size of the sign's marker in the export. Reduce this value if the exported plan has dots instead of markers and Sign IDs.
4. Export zones as individual PDFs toggle will generate a separate document for each zone.
Excel Message Schedule
The message schedule will contain a summary of sign types for each location, a cost estimate, and a breakdown of the content in every field for each sign. Each document will contain:
Sign Overview - A summary of Sign Counts per location and a total
Sign Estimate - A summary of sign counts, unit costs, and extended costs
Message Schedule - A message schedule displaying the content of ever field in a sign. Each sign is a row which makes automation and calculations easier.
Grouped by Type - A message schedule where signs are grouped by type with a layout that is more legible for people.
Remaining sheets - Each sign type has its own individual schedule sheet.
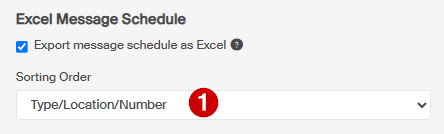
1. Sorting order changes how signs are organised in the report. They will always be grouped by type but within that grouping this drop down lets you change if they are organised by location or their sign number next.
PDF Document(s)
Here, you can choose which document templates you'd like to use. Multiple reports can be generated at once. The Document Templates are customizable to your reporting needs. For more info see here the Customizing Reports article.
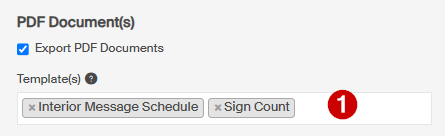
1. Click in the textbox to select from the list of templates you have access to or start typing the name of the template to narrow your search.
PDF Technical Drawings
This option exports any documents attached in the Files tab (section 5) for all sign types included in the report.

Sign Artwork
Export individual files for each sign with templated or custom uploaded artwork. To learn more about combining or post-processing the artwork, see this article on the Fabricator Script.
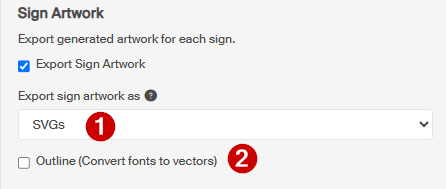
1. Format - Choose the export format of SVG or PDF.
2. Outline - When toggled, text will be converted to shapes rather than editable text.
Photo Attachments
Export all photos attached to signs as an individual file. These files will contain the sign's type, location, number, and an identifying number to ensure all files are uniquely named.
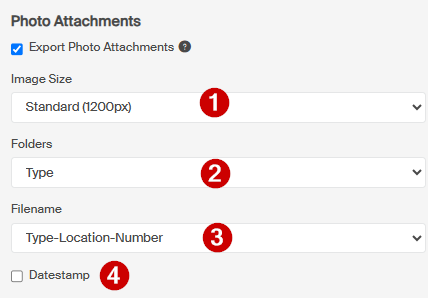
1. Size - Select the resolution of exported photos.
2. Folders - Choose whether the photos will be grouped by their sign's type or location.
3. Naming - The type, location, and number need to be included in a file's name but the order can be changed.
4. Datestamp - This toggle will include the time and date the report was created in each file's name.
When you're done selecting which reports to run and adjusting your settings, click Export. 
4. Downloading your Completed Report
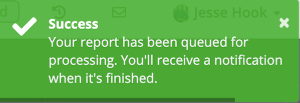
This may take some time to compile, depending on the size of the export but you'll get a notification in-app once it's ready.
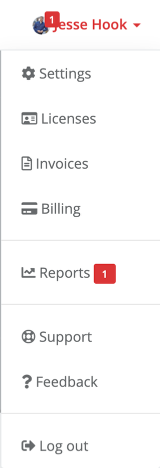
When you get the notification icon on your profile image in the top-right corner and choose "Reports" in the drop-down list.

In here, simply click the file under "Result" to download it. This download link will expire after some time, so make sure you download it if you need a permanent copy.