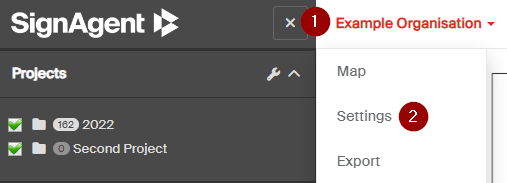
First, you'll have to go to your organization dropdown menu. To get there, just click on the Organization name at the top of the page and choose "Settings". You can find that near the top of the page, next to the sidebar.

The permissions section will list those who have access to the organisation.
Admins - Any users added here will have the ability to access and edit any and all projects, permissions, signs, and other areas of this organization.
Viewers - Any users added here will have the ability to view all signs, location plans, and many other areas of this organization, but they will not be able to make changes. They will also be able to leave comments to any signs.
Select the "Permissions" button to edit who has access.
Add a User
1. Type the email of the user into the text box.
2. Click the plus icon beside their email or any of the suggested emails below
3. Select the permission level to assign them
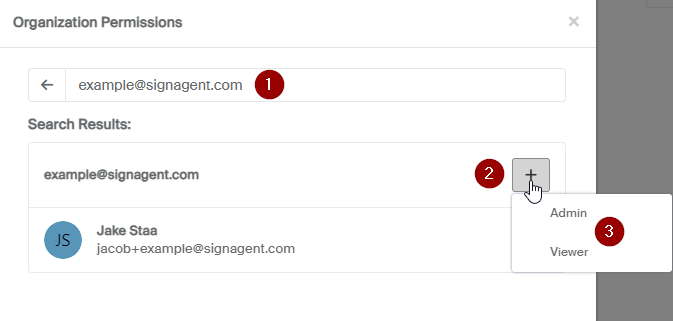
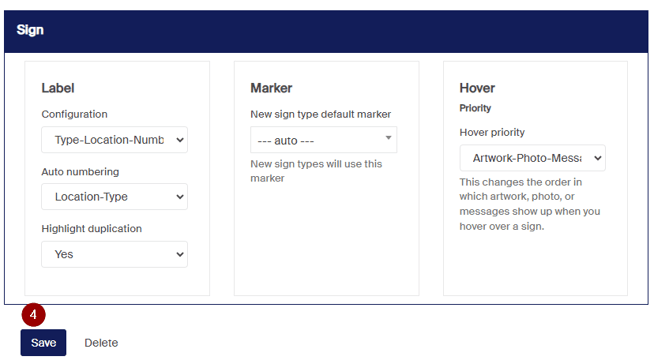
4. Save the changes from the organisation settings page.
If you want to limit users' access (for editing or viewing) to only certain areas of the organization, consider inviting them to a project or state instead. You can see details on how to do that here: