
First, you'll have to go to your Project Details Page. To get there, just right-click on the Project name from anywhere within your organization, and choose "Edit". You can find your project list within the sidebar found at the left of the page.
If you don't see any project names here, you may still be in your overall dashboard. Navigate to your Organization first, by selecting it in the dashboard.
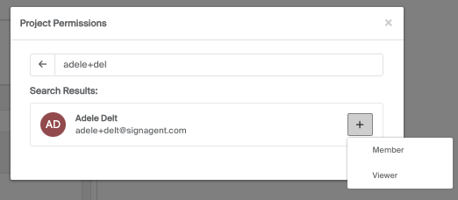
Once here, you'll be able to add users to the Members or Viewers fields by clicking on permissions. If they are an existing user in any of your other projects or organizations, then their name should show up in a drop-down once you start typing.
If you add an email that is not associated with an existing SignAgent user, they will be sent an email inviting them to create an account.
When you're done, make sure you click "Save"
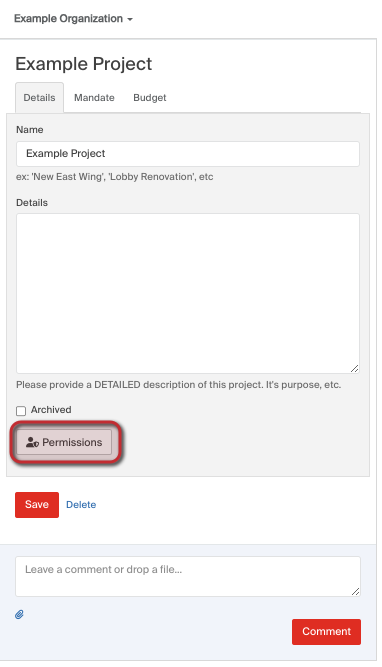
Select the Permissions button from the bottom of the settings window. This will show a list of all current members and viewers for the organisation.

- Members - will have full access to any signs within the project's scope. They require a paid subscription in order to do anything.
- Viewers will have view-only access to any signs within the project's scope. They can access for free.
Add a User
1. Type the email of the user into the text box.
2. Click the plus icon beside their email or any of the suggested emails below
3. Select the permission level to assign them
- Any users added here will not be able to see or change any items that are outside of the project's scope, which could include sign types, locations, and other projects.
- Want more information about invitations and collaboration? Check out our webinar: Collaboration in SignAgent