Feeling lost in translations? This article should help.
If you haven't set up a language to translate, do that first. Find instructions here: Manage Translations: Set up Languages
There are two ways to create new translation fields: In the Manage Messages Page or in the Manage Fields page
1A. Manage Messages
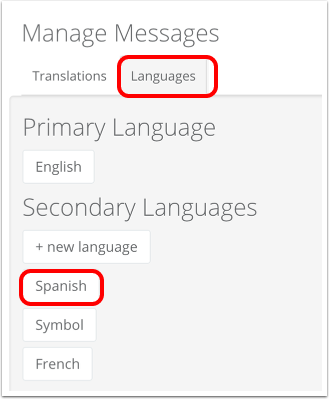
To add fields directly in the Secondary Language page, just go to Manage Messages, choose Languages, and select the Language that you want to add the fields to. (In this example, I chose Spanish)
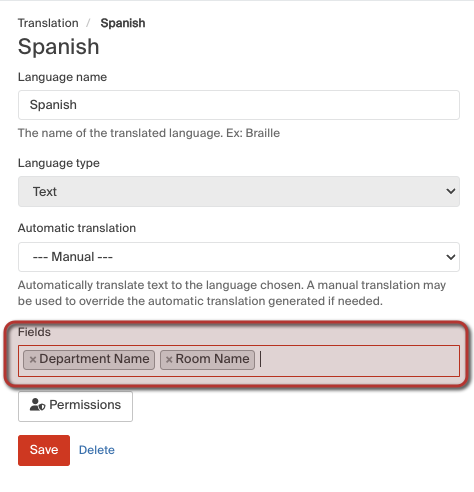
In the page the comes up, just add as many fields as you want in the "Fields" area. Don't forget to click Save!
This will create new translation fields for each field that you added. So, in my example, it would create Translation fields called "Department Name Spanish" and "Room Name Spanish"
1B. Manage Fields
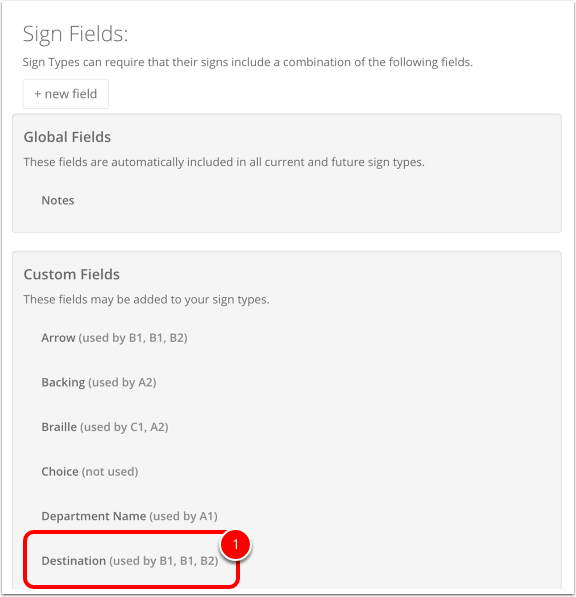
- You can also add translations to fields individually in the Manage Fields page located under your organization name.

- First, select the field you'd like to add a new language to.

Option 1A is better if you're adding multiple fields to a single language
Option 1B is better if you're adding multiple languages to a single field
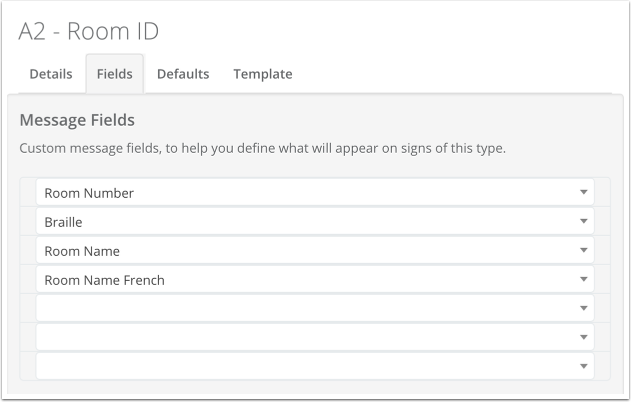
2. Add Fields to Sign Types
Once you've got your translated fields created, you just need to add them to whatever sign types need translation!
You can add translation fields the exact same way that you would add any other field to your sign types. For more details on this, see this tutorial: Customizing Fields in Sign Types
3. Add Manual Translations
- If working with a large number of messages, it may be beneficial to filter messages to the specific field you are looking to translate.
- Open the "Manage Messages" page from the Organization Drop Down
- For automated braille translations see this article: Braille Translation

- Each individual message will have a column for every applicable translation language. Manually enter the translation/s for these messages.

Note that you do need to add translation fields manually, based on which sign types may need translations or not. They won't be added automatically.
Non-Text Translations
Check out this clip from one of our webinars to see non-text translations in action.