Multi-Line Templates and Leading
Follow the leading!
- Want to see this in action? Check out a step-by-step video here: Artwork 201
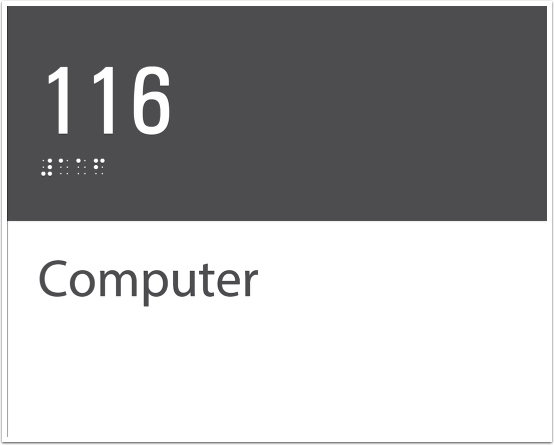
- This tutorial will show you how to create multi-line templates and add exact leading values into your templates. Note that this is only necessary if your messages will break across multiple lines.
1. Set up your Sign in Illustrator

For more detailed instructions on how to do this, check out this tutorial: Create Simple Room ID Sign
The bounding box for a multi-line text element should be large enough to accommodate however many lines of text are required plus at least 10% extra space to account for any font variance.
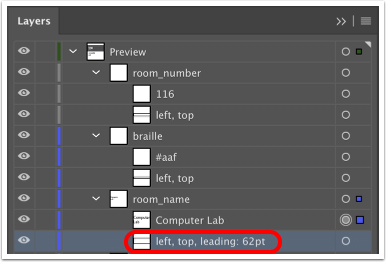
2. Adding Leading Value to Bounding Box Layer

So, for example, this bounding box layer would now be named "left, top, leading: 62pt"
You can also use other units of measurement, including
inch, in, feet, foot, ft, yard, yd, millimeter, millimetre, mm, centimeter, centimetre, c, meter, metre, pica, pi, point, pt
3. Remove Second Line from Text

The final step before exporting is to remove the second line of text from your template.
Having multiple lines of text within the SVG during export can cause conflicts between line spacing and reference points and can sometimes interfere with the behaviour of the template. This is only for the template and will not impact the artwork generated in SignAgent.
4. Save, Export, and Upload to SignAgent™
For details on how to save, export, and upload this template, refer back to this tutorial: Create Simple Room ID Sign