Did you know SignAgent’s Referral Program rewards our Design users for referring their clients to SignAgent? Click here to learn more.
A review state has approval and rejection options for that step of a project. A project can have multiple review states all with different users assigned to them. Approvals are for that state alone. For example, there might be a 3 review states each serving a different function in a project:
1. First round review - has a group of users assigned to it
2. Second round review - has a completely different group of users assigned
3. Install - allows for installers to check off signs that have been completed (see this article for instructions on creating a punchlist based on this info)
Once a sign is moved out of a review state, it acts clears the status of that sign. When a sign is moved from Review 1 to Review 2 it will be ready to review again but retain who approved it and when in the sign history.
1. Create Review State
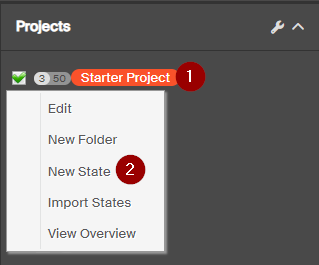
- Right-click on the Project that you'd like to add the Review State to.
- Select the New State option
2. Add State Details
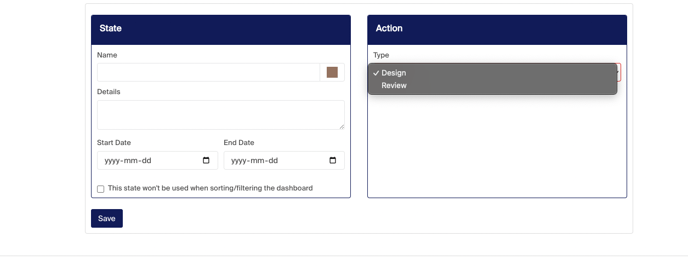
1. Add the details you'd like for the state. You can see more details on creating a state here: Adding a State
2. Indicate whether your state will be a Design State or a Review State
-
- Design State: used for states that do not require any external members or actions.
- Review State: intended for adding external users and setting up actions (review, approve, reject) applicable to the state.
3. Be sure to click Save before moving on to the next step
3. Move Signs into the Review State
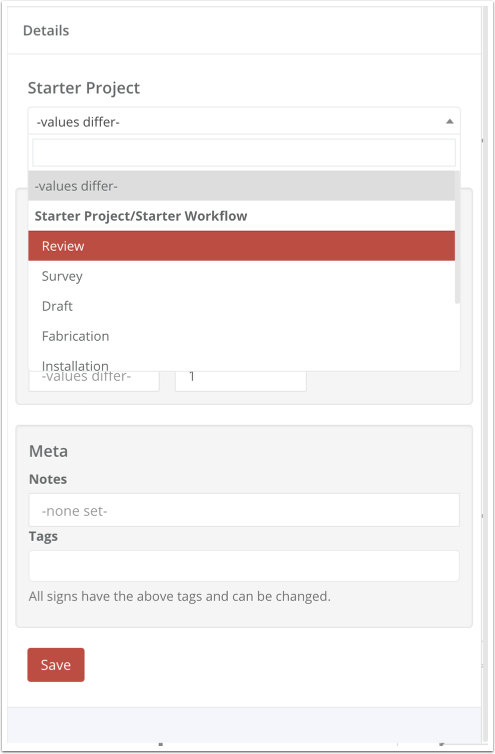
Next, select all the signs that are ready for review, and move them into your new review state. To do this, simply click on the drop-down list at the top of your sign editing dialog, and choose "Review"
4. Invite Client to Review
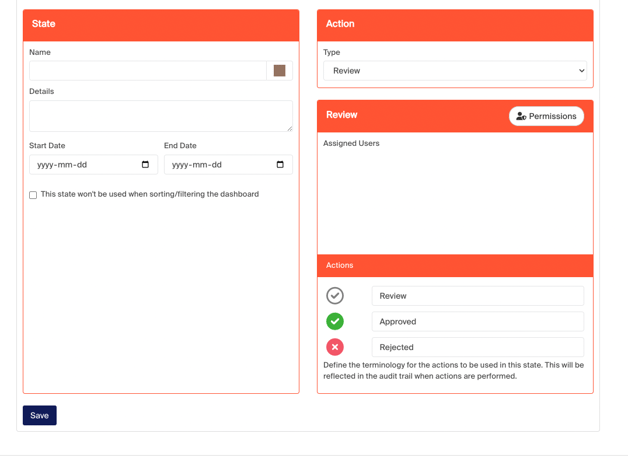
Once you're confident that everything is ready to be reviewed, you can invite the client to the Review state.
1. Select Permissions
Add a User
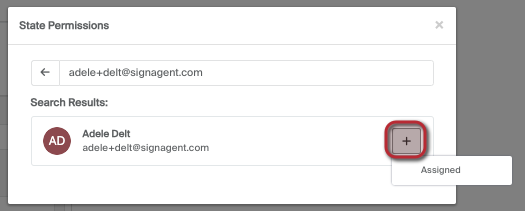
1. Type the email of the user into the text box.
2. Click the plus icon beside their email or any of the suggested emails below
3. Select the permission level to assign them

Finally, click Save.
If you want to, you can customize the names of each action by adjusting the text under "Actions"
Note also that only users whose emails are within the Assigned Users field will be able to approve, reject, etc. (including admins!)
Once you've added your client into Assigned Users and clicked Save, your client will then get an email asking them to create an account and review your signs.
They will only be able to see signs that are within the Review state.
They will be able to approve, reject, or comment on signs within that state, but they won't be able to move signs or edit their data directly.
Once they're finished, you should receive an email notifying you that the review is complete.
- If you want more details about the process your client will go through, you can see more information about that here: How to Review Signs
- Want more information about invitations and collaboration?
Check out our webinar: Collaboration in SignAgent - Did you know SignAgent’s Referral Program rewards our Design users for referring their clients to SignAgent? Click here to learn more.