Need some more space between letters on your sign? Love that custom visual density in your content? This tutorial will teach you how to specify tracking in your SignAgent templates.
1. Create Template as Usual

If you need a bit more guidance on this, check out the tutorials here: Working with Templates
2. Select Text and Specify Tracking
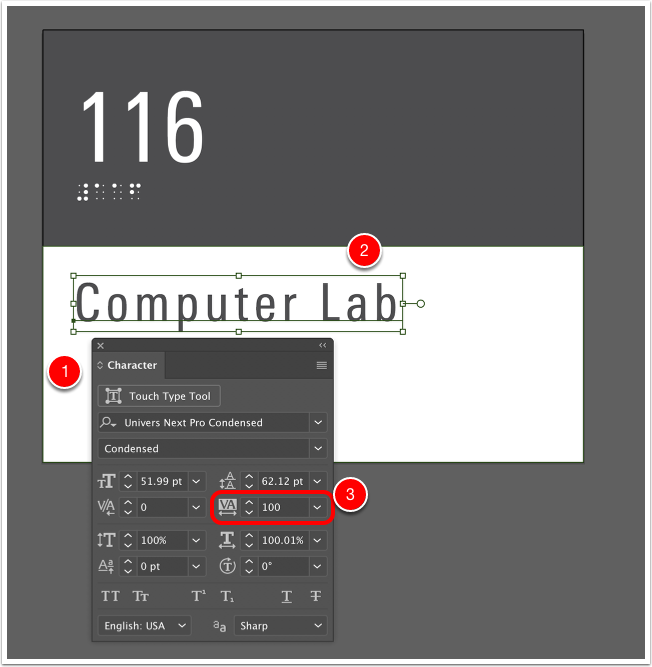
- First, open up the Character Panel. You can do this by going to the Window Menu (in Illustrator) and choosing Type > Character. You can also press Command + T (on Mac) or Ctrl + T (on PC)
- Select the text you'd like to adjust the tracking on.
- Adjust the tracking until you're happy with the appearance.
The kerning for all text must be set to 0 for tracking to be properly implemented
Note: Your text must be a "true" size for tracking to work. In other words, avoid "stretching" your text to resize it - if you want to change your font size, always use the pt panel and enter the numbers in manually, and as best practise, use point text instead of area text in Illustrator.
3. Export SVG as Usual
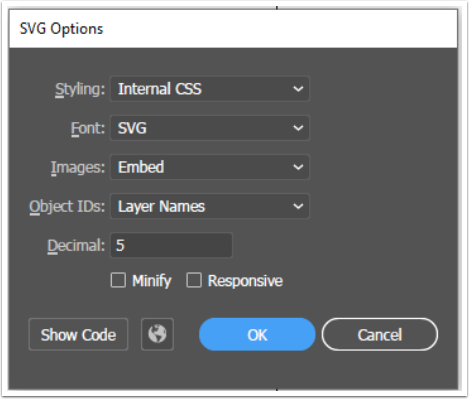
Again, if you need help figuring out how to export and apply the SVG templates, check out the other tutorials found here: Working with Templates
4. Complete!
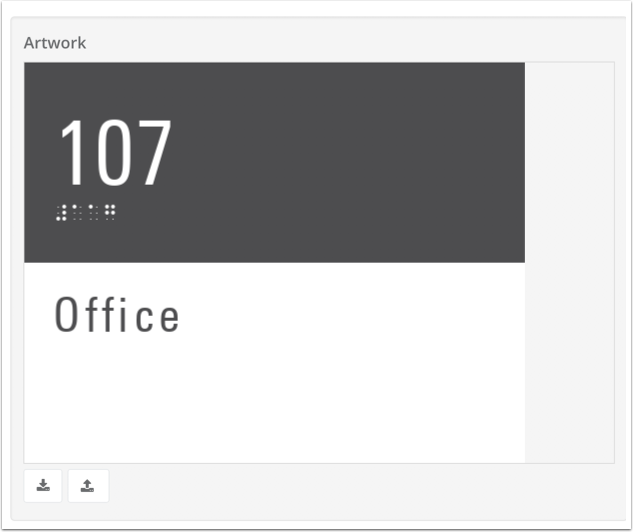
Tracking should now be displaying correctly in your automatically generated artwork within SignAgent!
Note that, for now, you are unable to do custom kerning within SignAgent templates. If you need to adjust the kerning for individual signs, you'll need to download the artwork, adjust the kerning, and then re-upload. This can also be done in bulk to multiple exported signs at once using our SignAgent Fabricator Script tool.