Together we stand... dividers we like.
This article will teach you two different ways to add dividers to your templates:
- Automatically, based on the existence of a certain element
- Manually, with locations decided within SignAgent
Divider Example (Side 1 Automatic & Side 2 Manual)
Quick note... both of these templates are based off of the "Simple Wall Directional" template, which can be found here: Create Simple Wall Directional Template (Repeating Messages). If anything here doesn't make sense, make sure you check out that article first!
1. Automatic Dividers
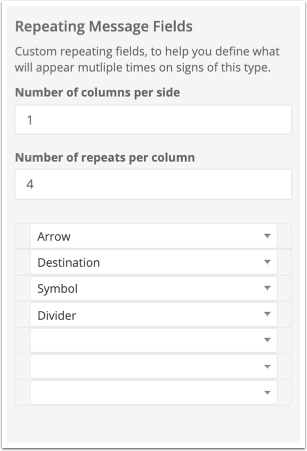
In this particular example, we'll show you how to have dividers show up automatically based on the existence of a certain element. For this example, it will automatically show up above every arrow in the sign artwork.
To add a divider based on another element, add the divider object within the layer containing the other element.
In this example, the dividing line was drawn within the "Arrow" layer. Now, whenever the system draws something in the "Arrow" field, it will also draw that included dividing line.

2. Manual Dividers
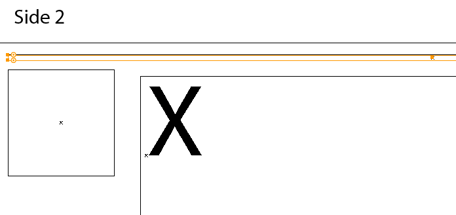
1. Illustrator Template
In the manual version, the divider will be created as a visual field. This allows for greater flexibility such as more complicated alignments, color changing, and multiple dividers being used.
The divider is a narrow bounding box that is the size of the largest divider that will be used in the sign.

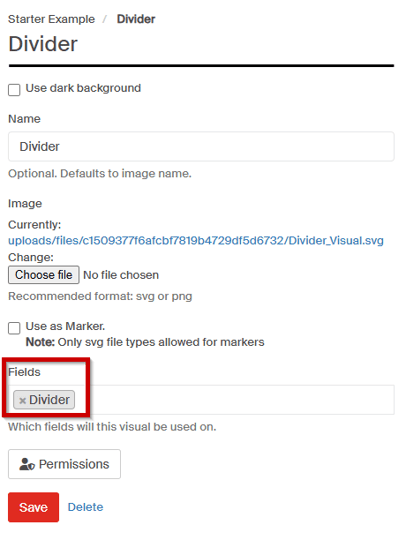
2. Create the "Divider" field as a visual
See this article on types of fields for more information on visual fields.
3. Upload Divider Visual
Save the divider on its own artboard and export it as an SVG. Upload it using the steps outlined in this article.
Ensure the visual is tied to the "Divider" field exclusively. This will ensure that other possible visuals do not appear as options when selecting the divider.
4. Result
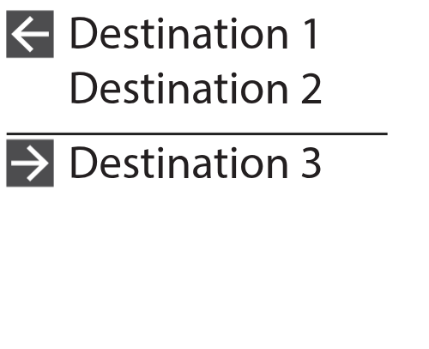
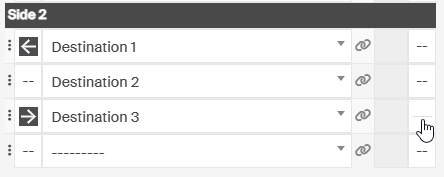
Complete! Note that the divider bar is showing up here wherever it's specified in the Divider field.