Let's get visual! Visual!
Text alone is boring! This will show you how to add visual elements to your templates, which could include arrows, graphics, logos, symbols, maps, and more!
This example is an amenity ID which includes a large symbol.Creating the Template (Illustrator)
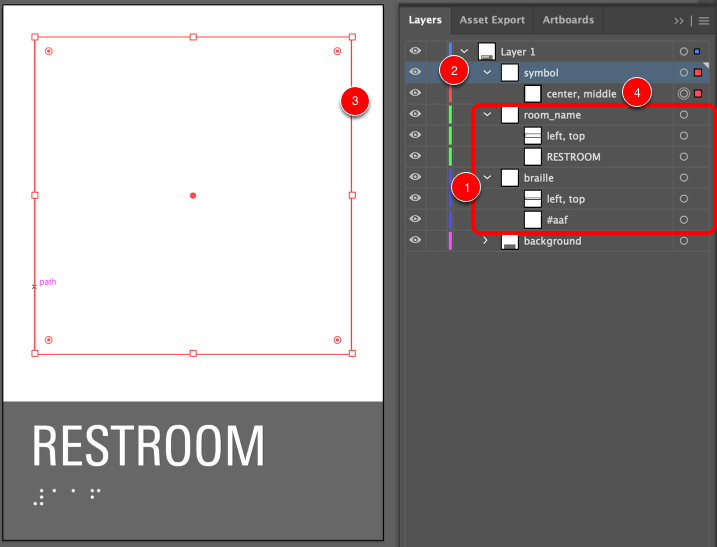
- Set up the other fields in your template as normal
- Create a nested layer called "symbol" (or whatever your visual field is called)
- Create a no fill / no stroke rectangle to the size that you want your symbol to be.
- Rename the rectangle to determine the image's alignment in the template. One of (left, center or right) and one of (top, middle or bottom)
- Export the SVG as usual
Set up the Sign Type (SignAgent)
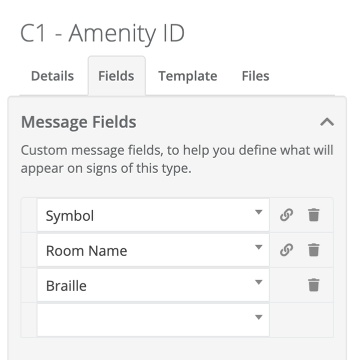
First, right-click on the sign type's name within the left-hand sidebar of your organization. From there, go to the Fields tab and create the fields in your sign type to match up with the names you gave the layers in your template. For more details on this, check out the original template creation tutorial here: Create a Simple Room ID Sign
Complete!
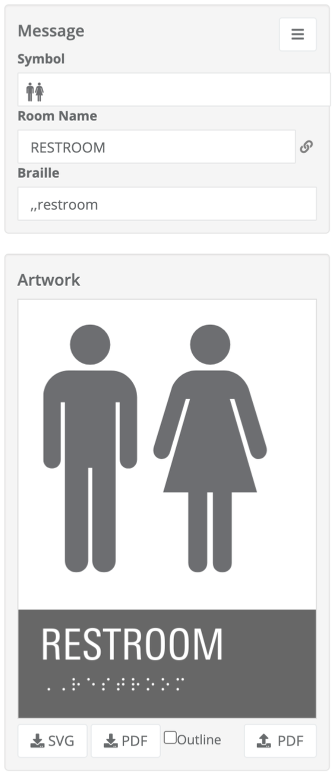
You should now be able to include this symbol in your sign artwork! The Symbol field should now allow you to pick an image from any visuals uploaded to SignAgent.
For more info on how to upload and organize visuals in SignAgent, check out this article: Manage Visuals
If your Symbol field is a text field instead of a symbol field, you'll need to adjust that field type to Visual. See here on how to do that: Manage Fields