In this article, you'll learn the basics of creating a Room ID sign.
Webinar
If you ever have too much to do or artwork that is more complicated than you can currently do, our services team is here to help. Reach out to services@signagent.com to find out about the training and templating services we offer.
Where to Find
1. Create a new sign type. We don't need more than a name for the sign right now.
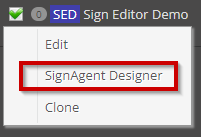
2. Right click on the sign type from the left-hand sidebar and select "SignAgent Designer"
Upload Artwork
You're now in the Sign Designer. The first step is to upload your artwork to the designer. There is a big red button on the left-hand side to do this. The file type will need to be an SVG. To learn more about the necessary SVG export settings, check out this article.
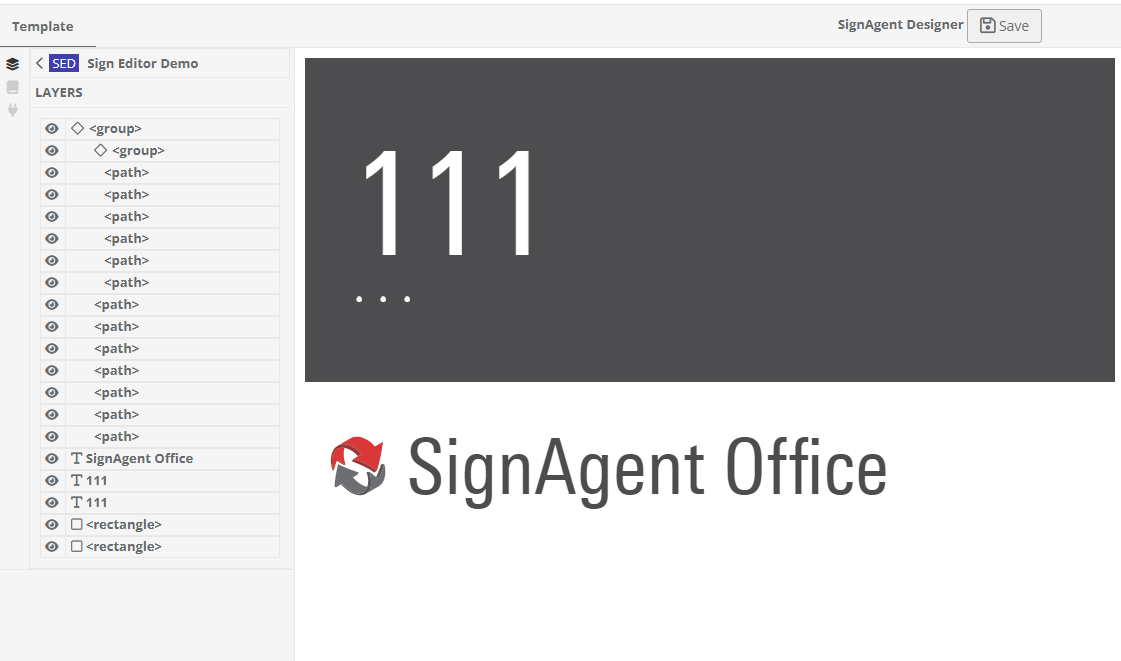
The Room ID's artwork will appear and there will be a breakdown of the layers from the original file in the left column.
Static vs. Variable Elements
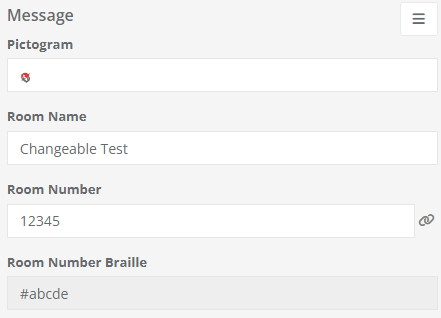
The first step for designing a sign is to think about which elements will be variable. In this case there are 4 variable elements. We could call them anything within the system, but in this example we'll refer to them as:
1. Room Number
2. Room Number Braille
3. Pictogram
4. Room Name
All of these elements will need to change independent of each other.
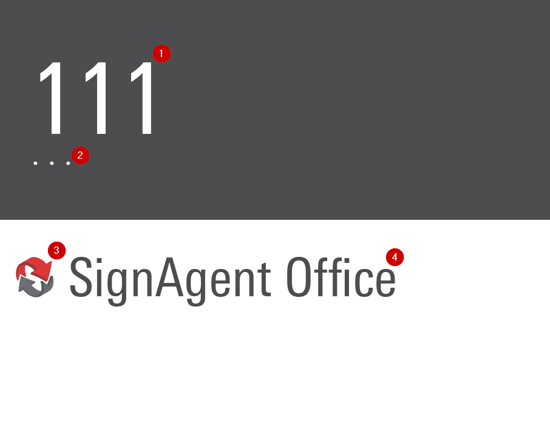
Each of these variable elements will have a field in SignAgent. A field is the building block of a sign type. It determines what kind of information makes up this Room ID sign.
Assigning Text Fields
1. Select Object - For this example we'll select the "SignAgent Office" text. It can be selected either by clicking on it from the left column or in the artwork.
2. Connect to a Field - In the right column, there is a + icon next to the Field header. Clicking this button will start the process of connecting this element in the artwork to a field in the sign. 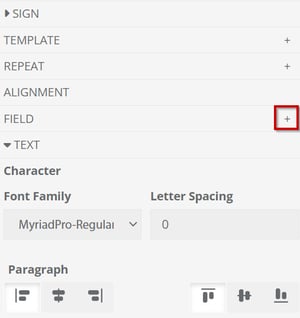
2b. Select Field - The fields available in the dropdown will be all of the message fields set up within the organisation. We haven't created any fields yet so we'll select "New Field".
2c. Creating a Field - There are 3 elements to fill out about this field.
1. The name of this field
2. Group - You won't need to change this option from "Message-related Field". For more information about message fields vs. detail fields, check out this article.
3. Field Type - By default this is "Text (short)" which means you will be able to enter a single line of text into the Room Name field. To learn more about the different types of fields, check out this article.
4. Ignore these options for right now, but read article in point 2 if you want to know more.
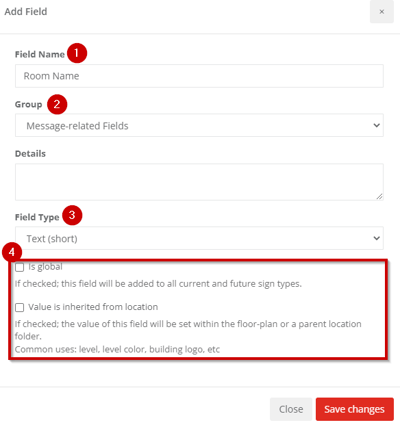
You've now created a field! Any time a sign's artwork has a Room Name in it, you'll simply be able to select this newly created field from the dropdown.
2c. Field Settings
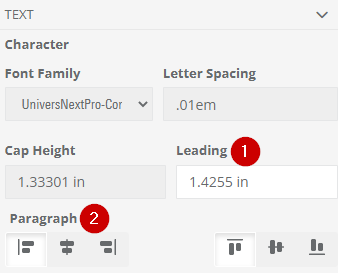
1. Text Settings - The font, spacing, and cap height will be determined by the characteristics of text in the uploaded file. Only the leading can be adjusted from within the Sign Designer.
2. Justification - Horizontal and vertical justification can be set using the option icons.
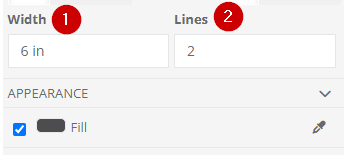
3. Maximum Size - The system needs to know how large this Room Name can be. Should it extend to the edge of the sign? Should it be able to drop to a second or third line?
The width (1) and line (2) options control the maximum space that the text will be allowed to occupy. If the text said "SignAgent Office Number 3", it would be too large to fit in the single blue line (3) and in this example would drop onto the second line (4). If instead the text said "SignAgent Ping-Pong Room, Please Don't Throw The Paddles In Anger" the text would overflow the maximum area allocated to it and be cut off after the second line.

4. Advanced Options - The Sign Designer is a work in progress and not all features that were available in Illustrator based templating have been incorporated yet. The advanced text box allows a user to add any bounding box commands to the field that the Sign Designer is not yet capable of handling. 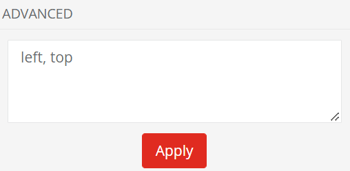
Assigning Visual Fields
The process for creating non-text fields is very similar to text fields. There are three differences in the settings.
1. Placeholder - The placeholder images available for your artwork will be the visuals that have been uploaded to your organisations. Learn how to upload visuals here.
2. Height - Height works the same as width to control the maximum boundary of the image.
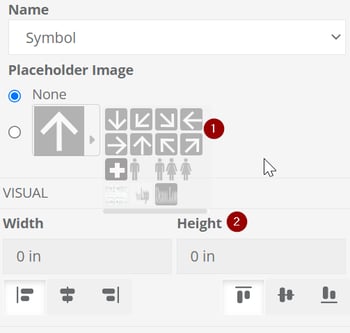
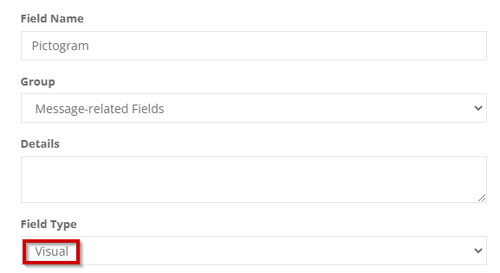
3. Field Type - When creating a non-text field, select the field type as "visual".
Repeat until finished
Once we've assigned all of our fields we're now ready to start creating signs. Any new sign we create will have the fields we've set up and will follow the rules outlined in those fields. 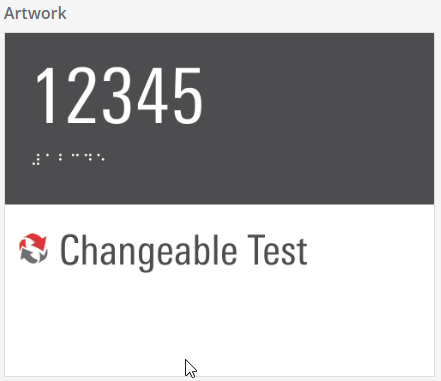
You're now capable of creating basic templates. Here are some additional features to look into next.
Alignment
2 Sided Signs
